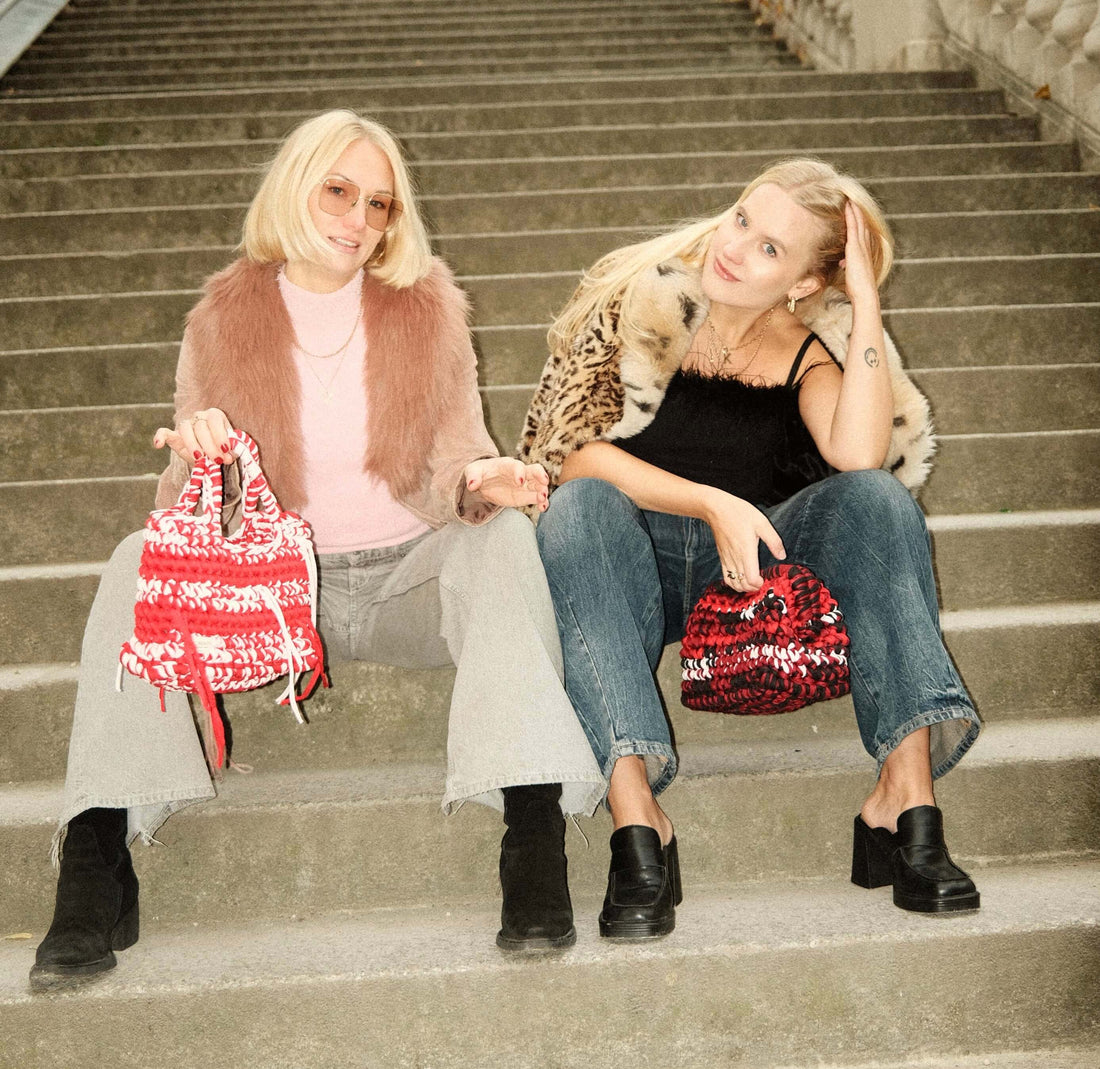
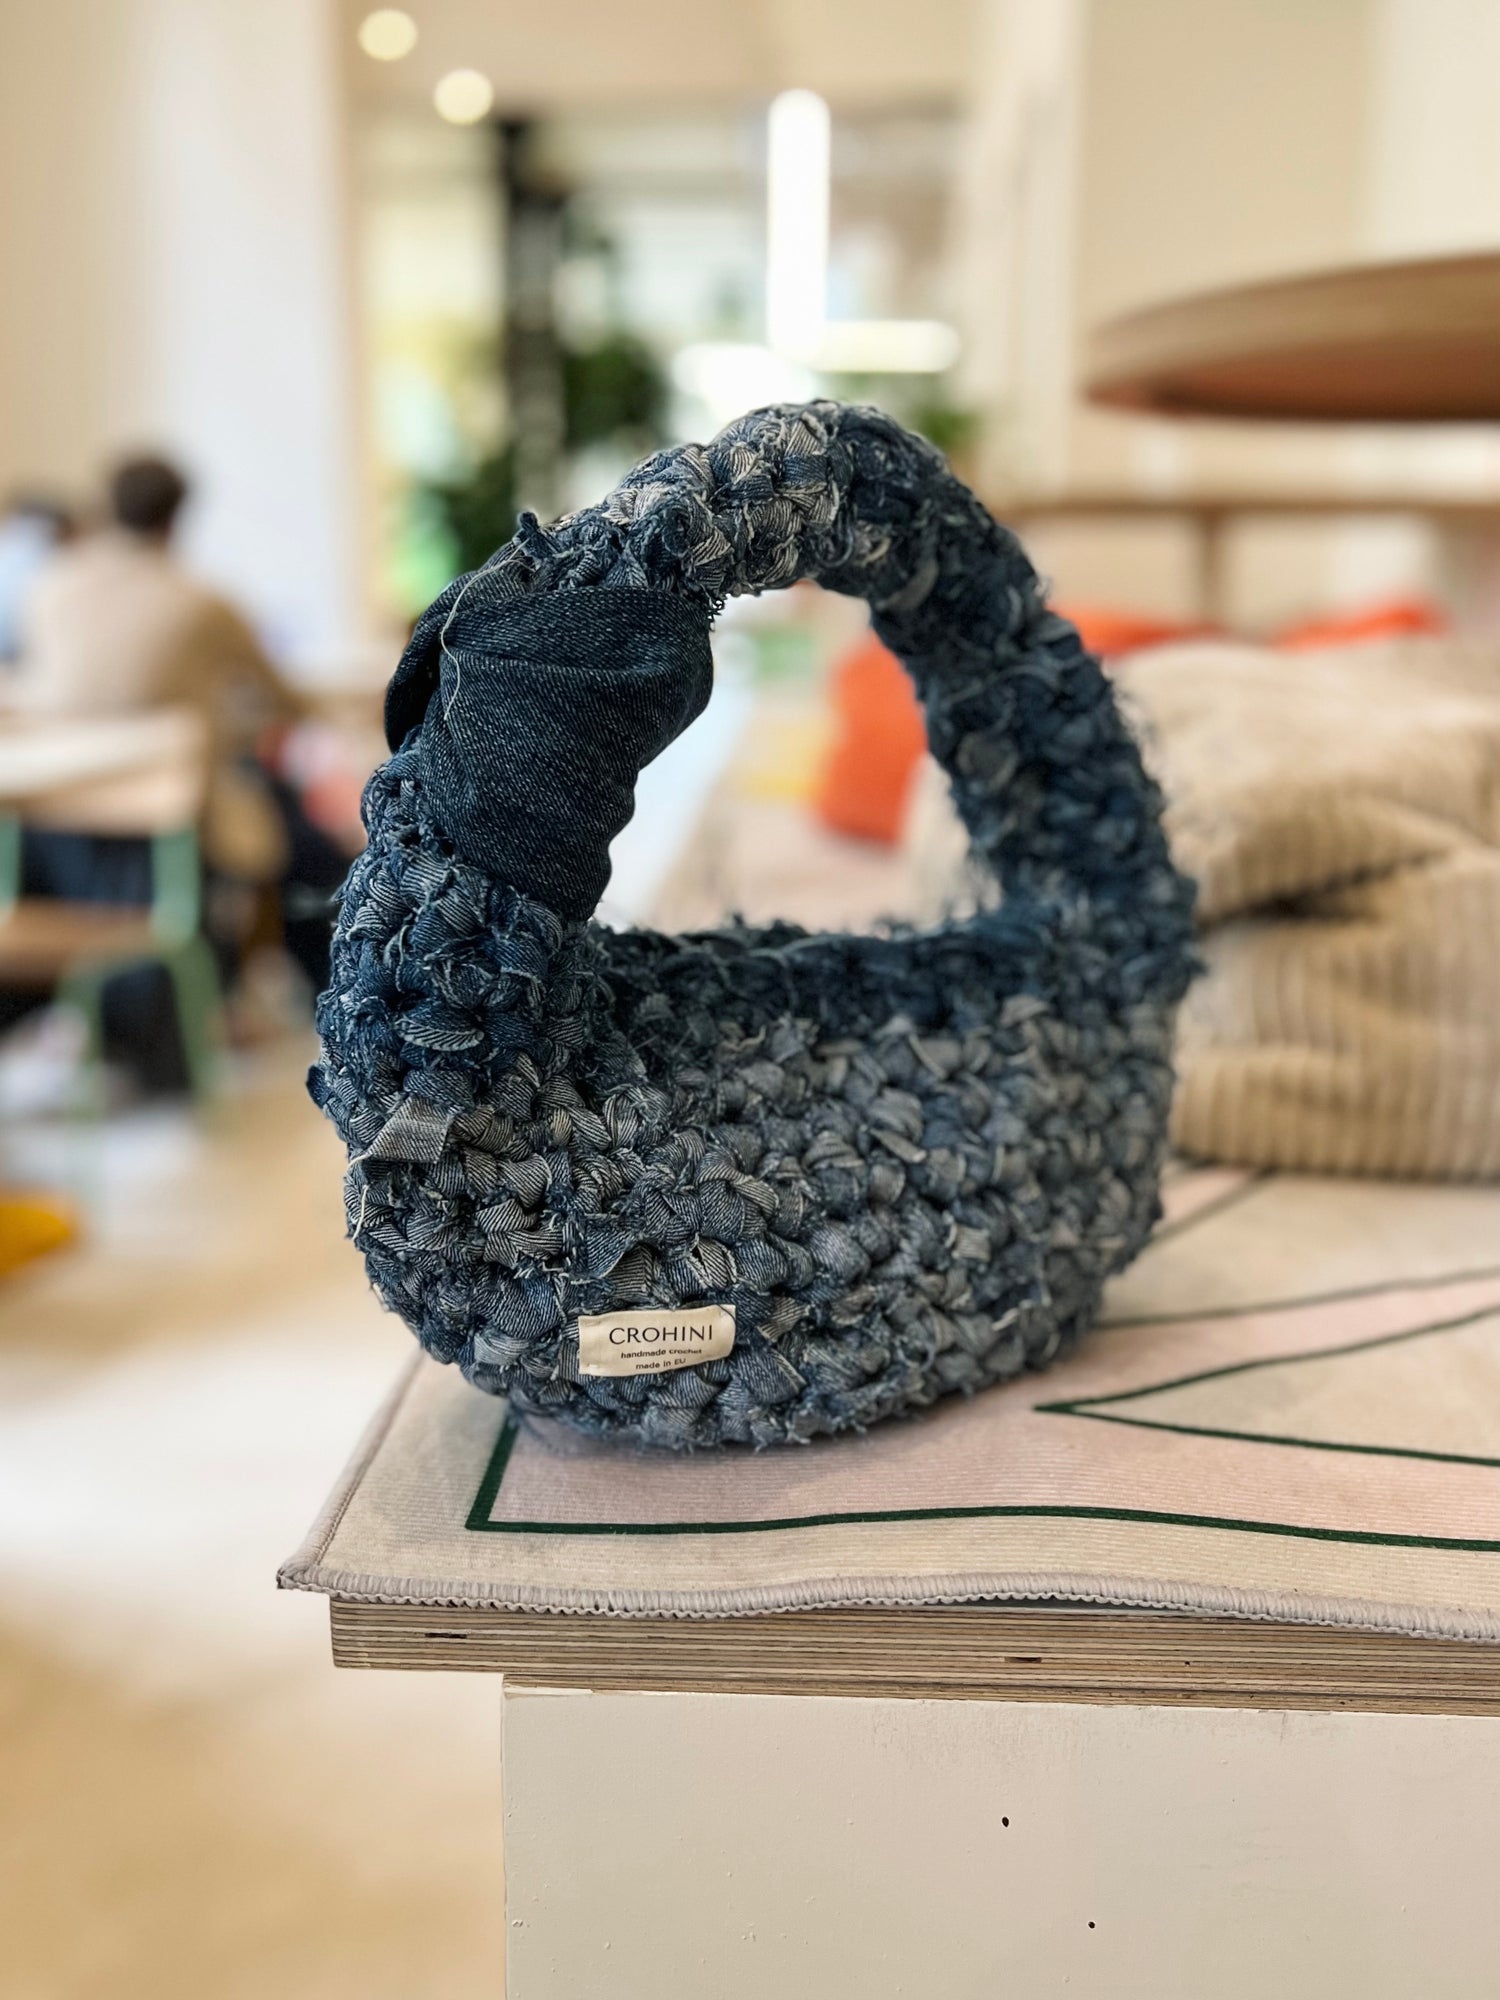
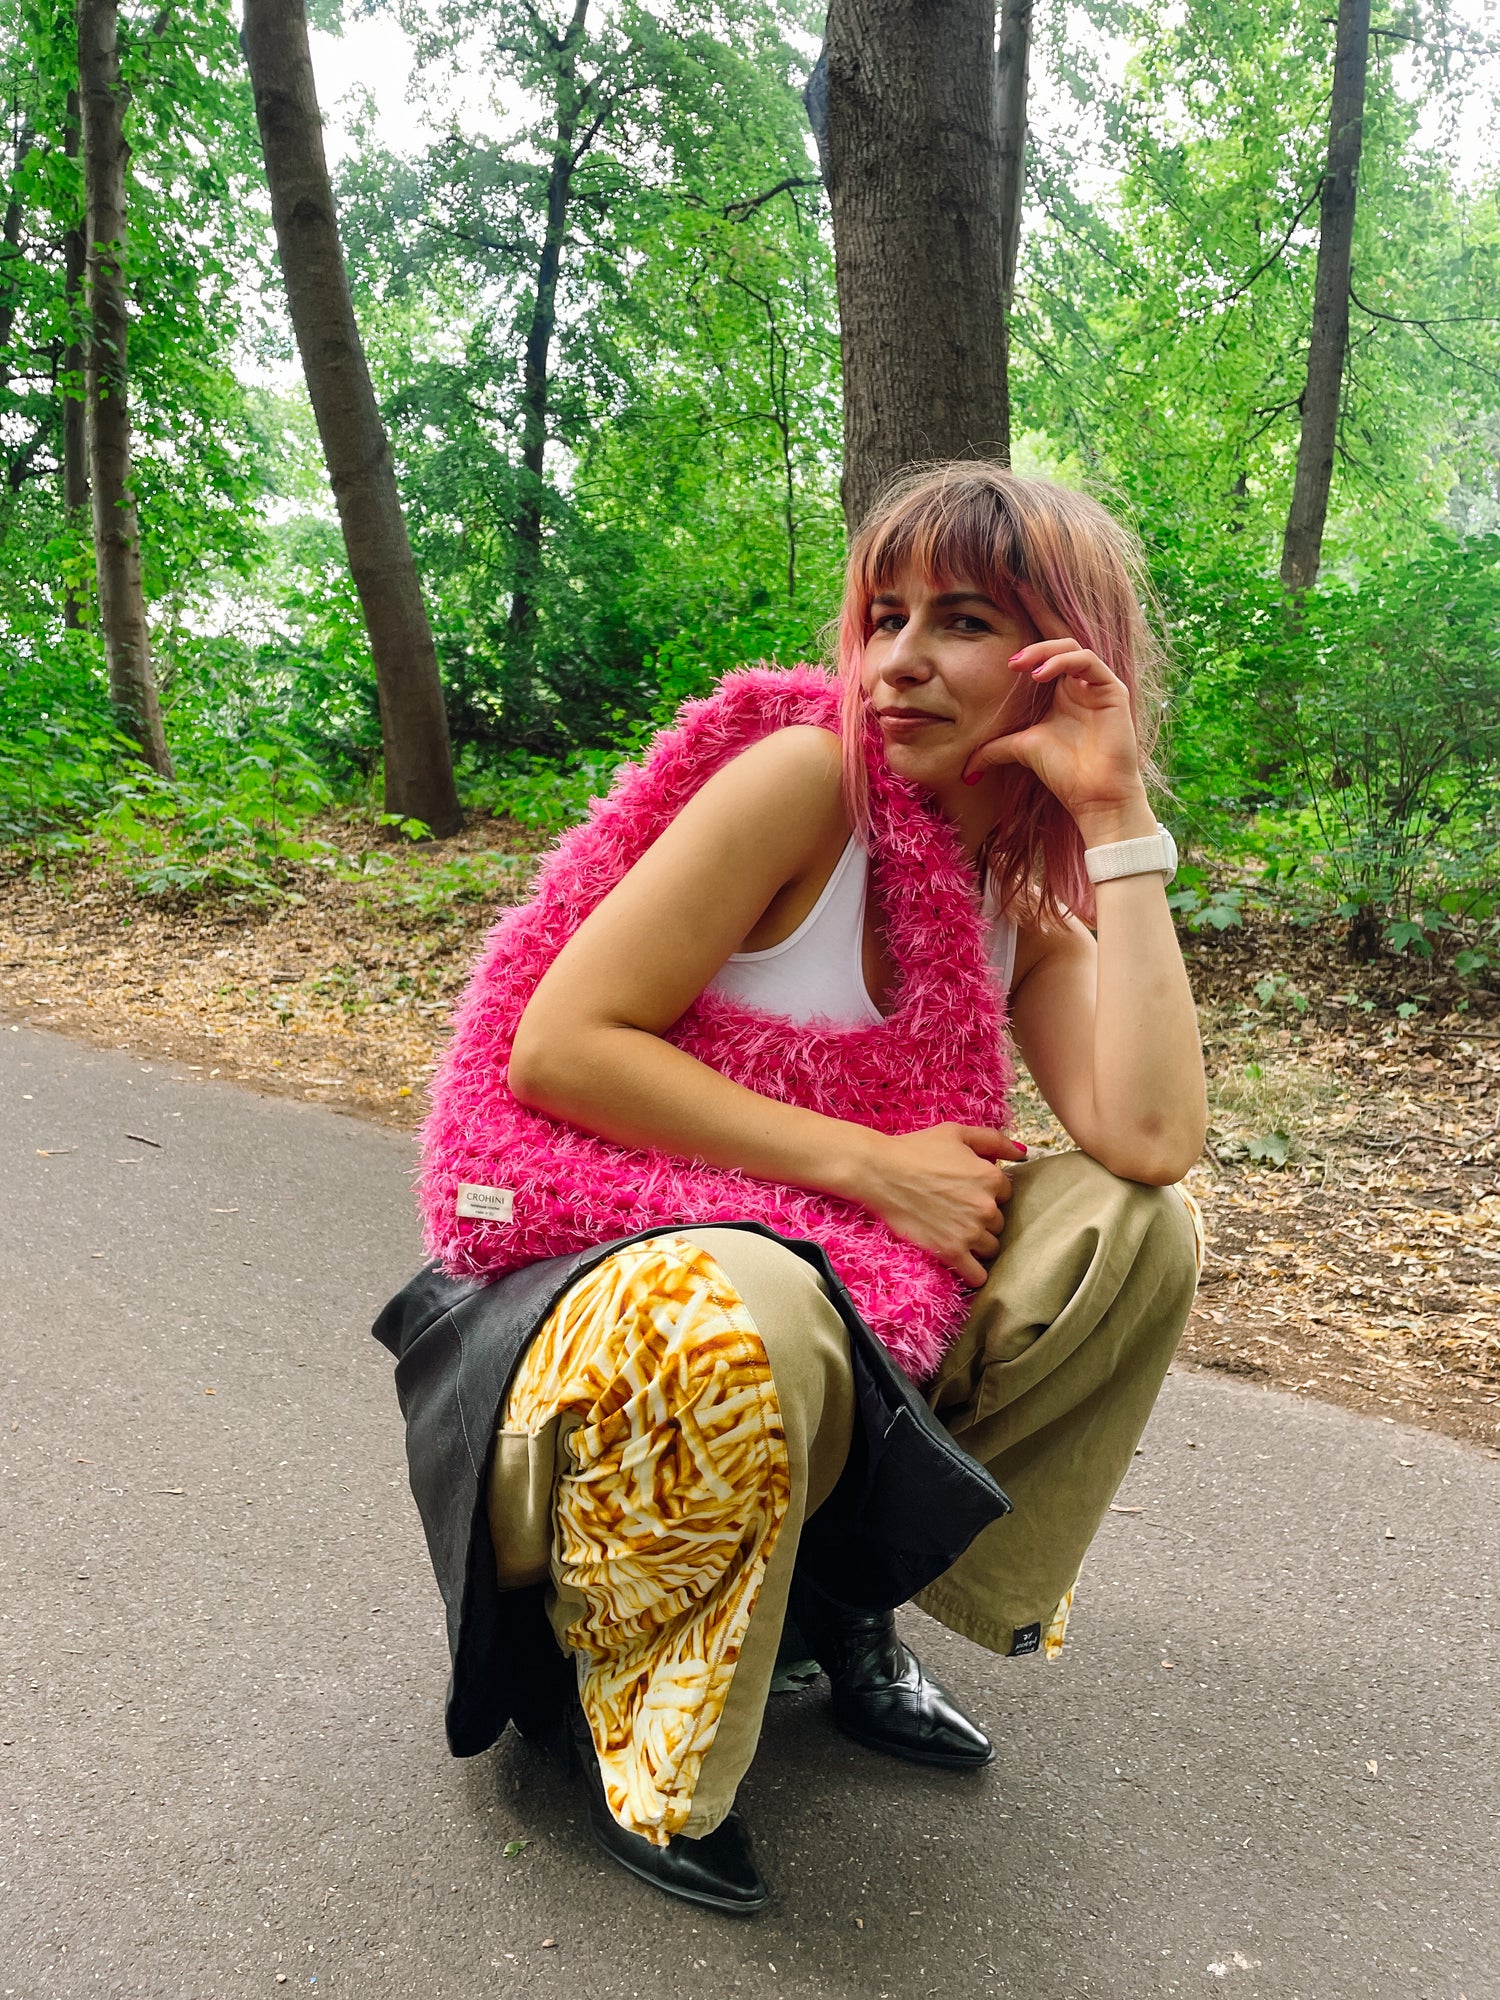
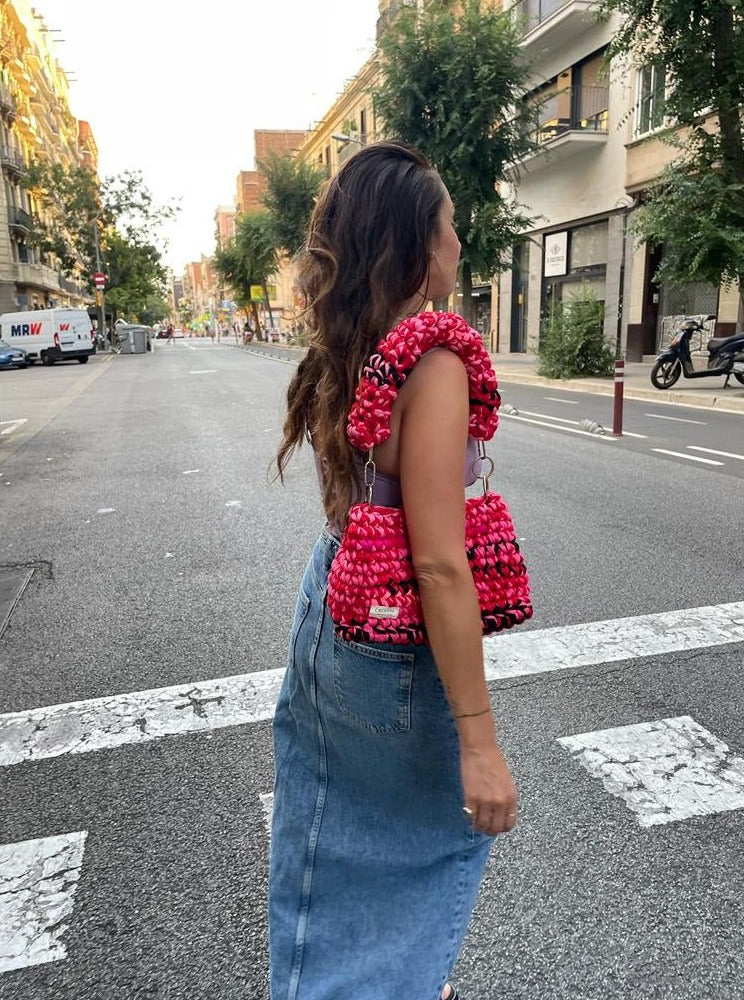
In this free crochet clutch pattern tutorial, we give a step-by-step overview on how to make this cute crochet clutch bag for any occasion. This design also makes a great crochet makeup bag.
Note: You can find a video guide to make this bag on our TikTok page: free crochet clutch pattern video guide.
@crohini Or get your ready made KELLI bag on 🛍️crohini.com ✨ Let’s make a cute crochet clutch bag! For this crochet bag tutorial, you’ll need jersey textile yarn, and a 9 or 10 mm crohet hook. Let’s dive right in, and make a cute cherry red crochet bag! The perfect crochet clutch bag or makeup bag. #crochetbag #crochetbagpattern #howtomakeacrochetbag #crochetbagtutorial #crochetbagpatternfree #crochetclutchbag #howtomakeacrochetclutchbag #howtocrochetaclutchbag #howtocrochetamakeupbag #howtocrochetabag #crochetmakupbagfreepattern #crochetmakeupbagpatternfree #copenhagencrochetmakeupbag #crochetmakeupbagpattern #crochetmakeupbagnozipper #makeupbagcrochetpattern #cherryredbag #darkredbag ♬ Sunshine - Tundra Beats
First, let's confirm what you need, after which we will get straight into step-by-step instructions on how to make this cute crochet clutch purse.
We also have it available as a ready made bag on our website! You can find it here.
1. What will I need for this crochet clutch pattern?
- YARN: (Recycled) t-shirt yarn.
- CROCHET HOOK SIZE: You need a 10 mm (or at least 9 mm) crochet hook to make the bag, due to the thickness of the yarn.
- BAG SIZE: Width: 28 cm (bottom); Depth: 12 cm; Height: 18 cm
- MAGNETIC CLIP: 23 cm
2. How to make a crochet clutch bag: Step-by-Step
Follow the below steps to crochet a clutch bag made from recycled yarn.
Step 1. Make the Base of the bag
Chain 14 (⊗).
Row 1: In the 2nd chain from the hook, make a single crochet (sc) in each chain across (13 sc), and chain 1
Row 2-6: Turn, and make 13 single crochets (sc) across for 5-7 more rows (depending on how deep you want the base to be).
Step 2. Make the Sides of the bag
Flip the base over your left hand, so the bottom of the base is facing up (check video tutorial).
Row 1: Crochet 1 sc into the first stitch, pulling the yarn up from below ((check video tutorial for this part, makes it clearer).
Continue to crochet the same way (pulling the yarn up from below), 1 sc into each stitch. In the corners, crochet 2 sc into the same stitch. Continue crocheting until the first row is done.
Row 2: First, connect the end of the first row and start of the second row with 1 sc. Now, we keep working our way up, forming sides of the bag. Continue crocheting regular 1 sc into each stitch (for all rows).
Row 2-8: Repeat the same process for all rows, keep crocheting 8 rows around and around (or until you reach your desired height).
Note: Switch colours (red, black, pink) as desired between rounds.
Note: Depending on the thickness of your yarn, the count of rows may vary, and isn’t always 8, it depends on your desired bag height.
Step 3. Attach the Closure
When you've finished the base, place the clasp on the top of the last row.
Mark the centres of the sides, and attach the magnetic closure so it stays centred in the middle.
Also mark where you want to leave the gaps for the handle (each side).
Attach the closure by starting to crochet around the clasp, crocheting 1 sc into each stitch.
Do not crochet into the stitches left free for the handle (where you hold the bag)! Crochet just around the clasp and not into the stitches for where the gap for the handle is.
Keep crocheting around until you finish the row and the clasp is fully attached (while making sure to leave gaps for the handle).
Step 4. Finishing touches
Weave in any loose ends.
You have a ready made bag!
Feel free to contact us on Instagram @crohinibags or TikTok @crohini in case of any questions. 🥰


